Documentation Index
Fetch the complete documentation index at: https://docs.arnio.co/llms.txt
Use this file to discover all available pages before exploring further.
Here’s how to get you up and running in just a few stepsThis quickstart guide will walk you through the process of setting up your account to the Arnio Dashboard.
Prerequisites: Before you begin, make sure to check your email for the invite and complete onboarding.
🔐 Access Your Dashboard
Once you’ve completed the onboarding process, you should have received an email to login to the portal.- Visit dashboard.arnio.co
- Log in using your email or Google SSO.
- Once inside, you’ll land on your CRM dashboard
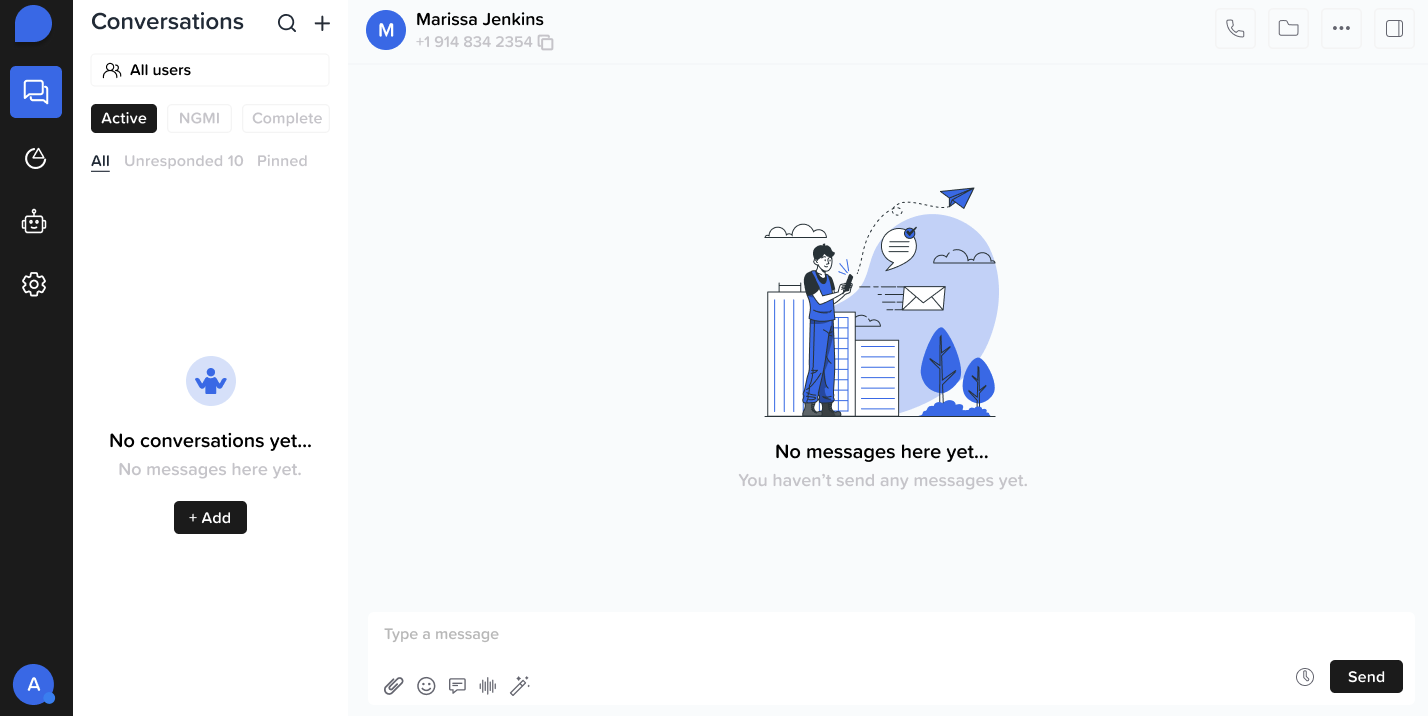
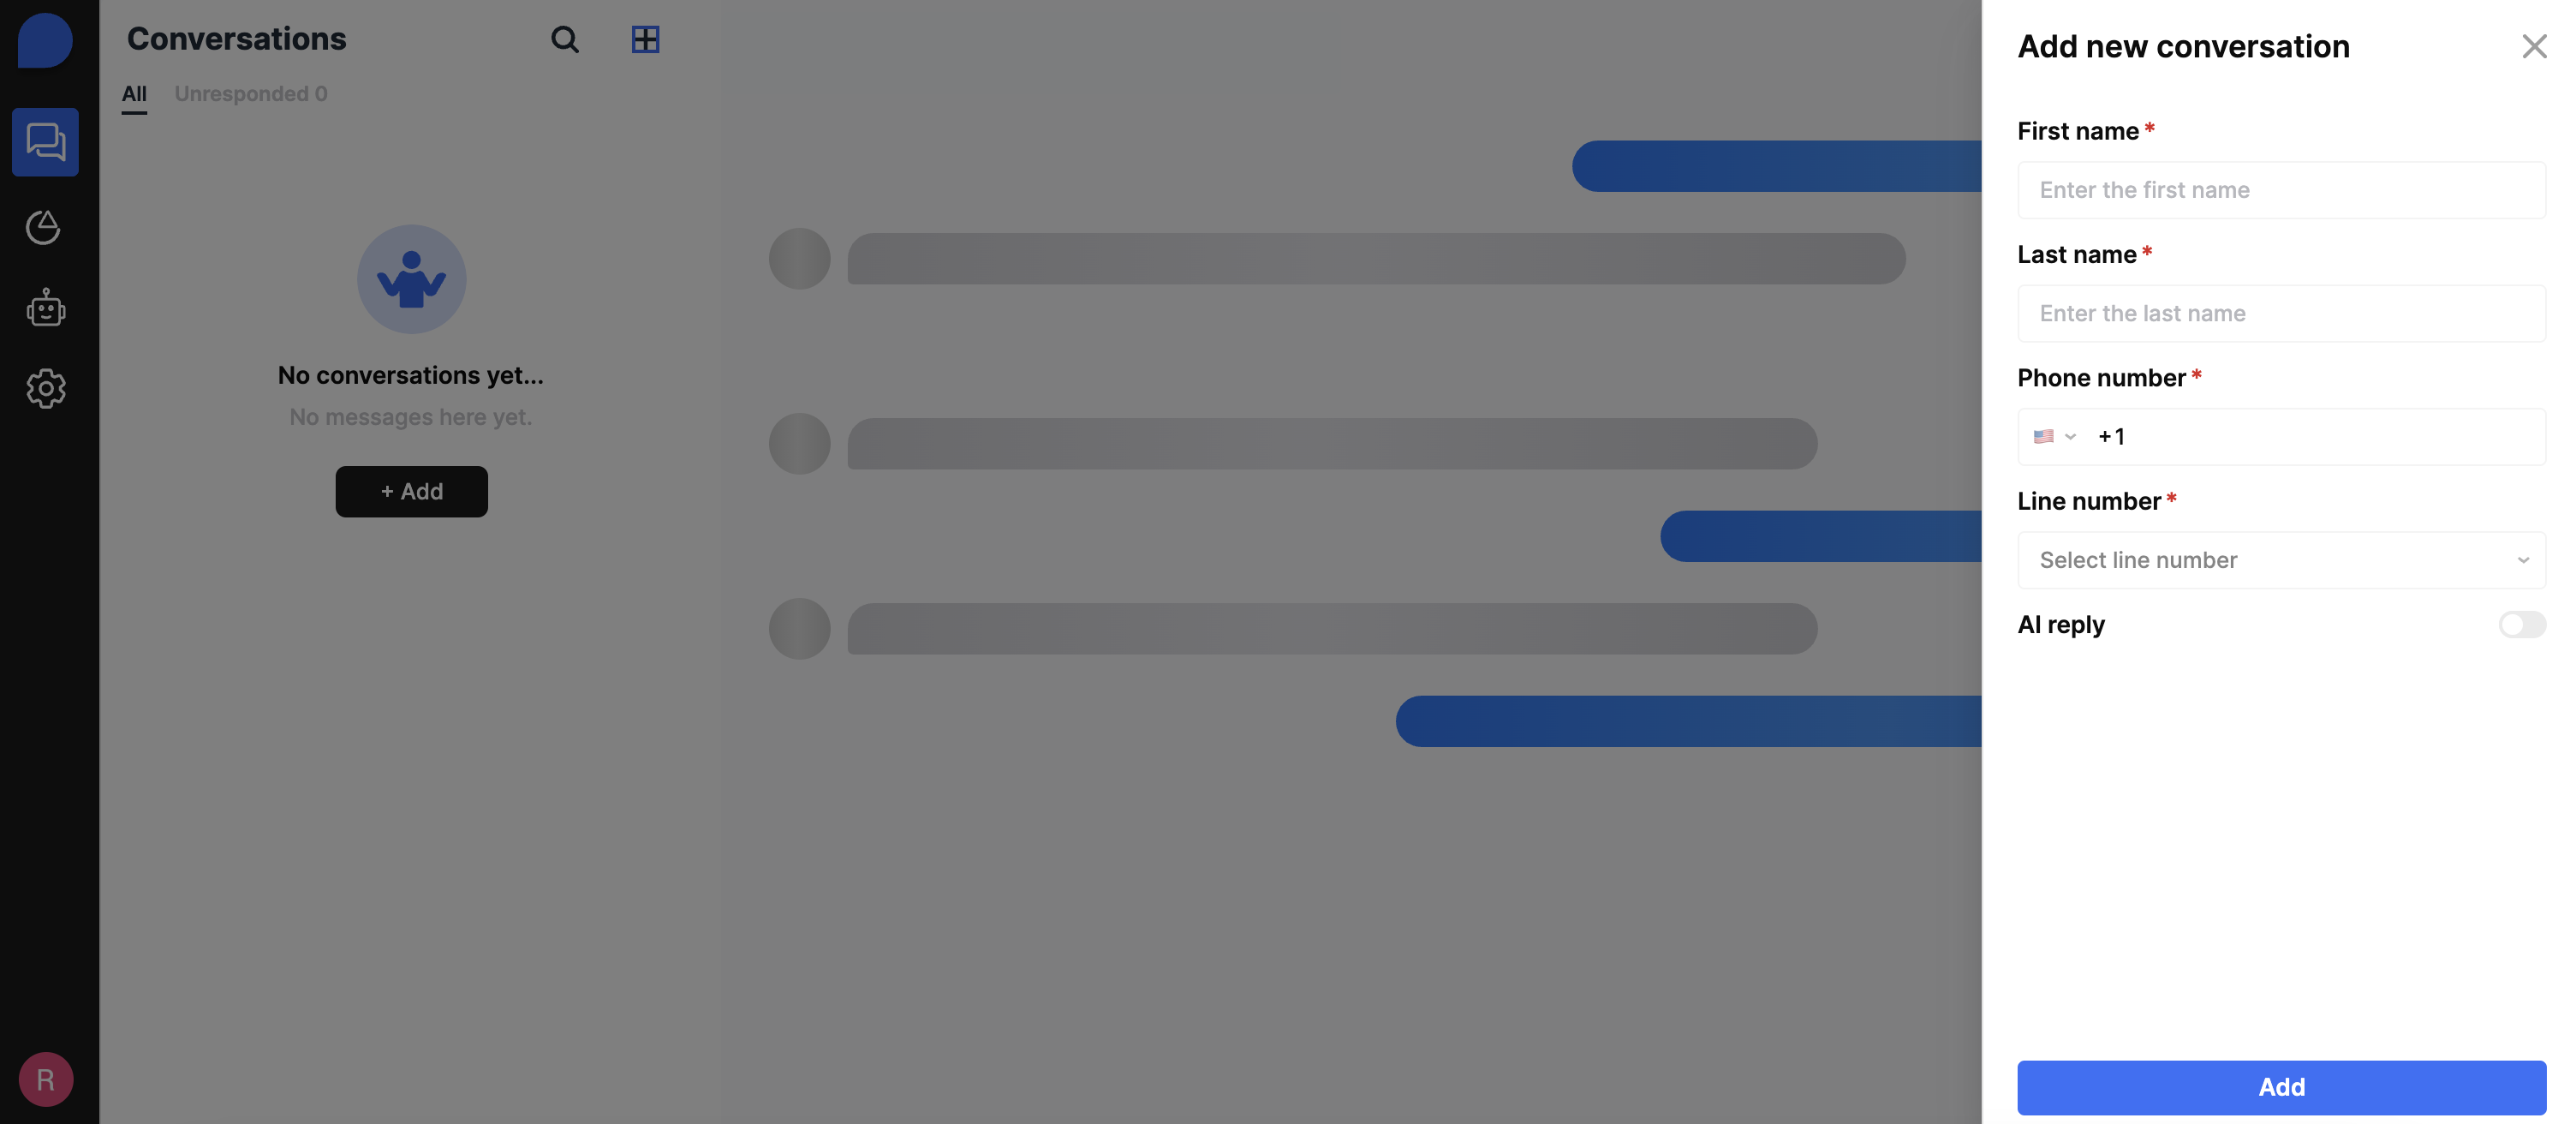
💬 Start a Conversation
- Select an existing contact or create a new one.
- Click “New Conversation” to open a chat thread.
- Start messaging leads directly via iMessage.
The AI reply feature will automatically be toggle on, so if you don’t want to use AI then disable the feature.
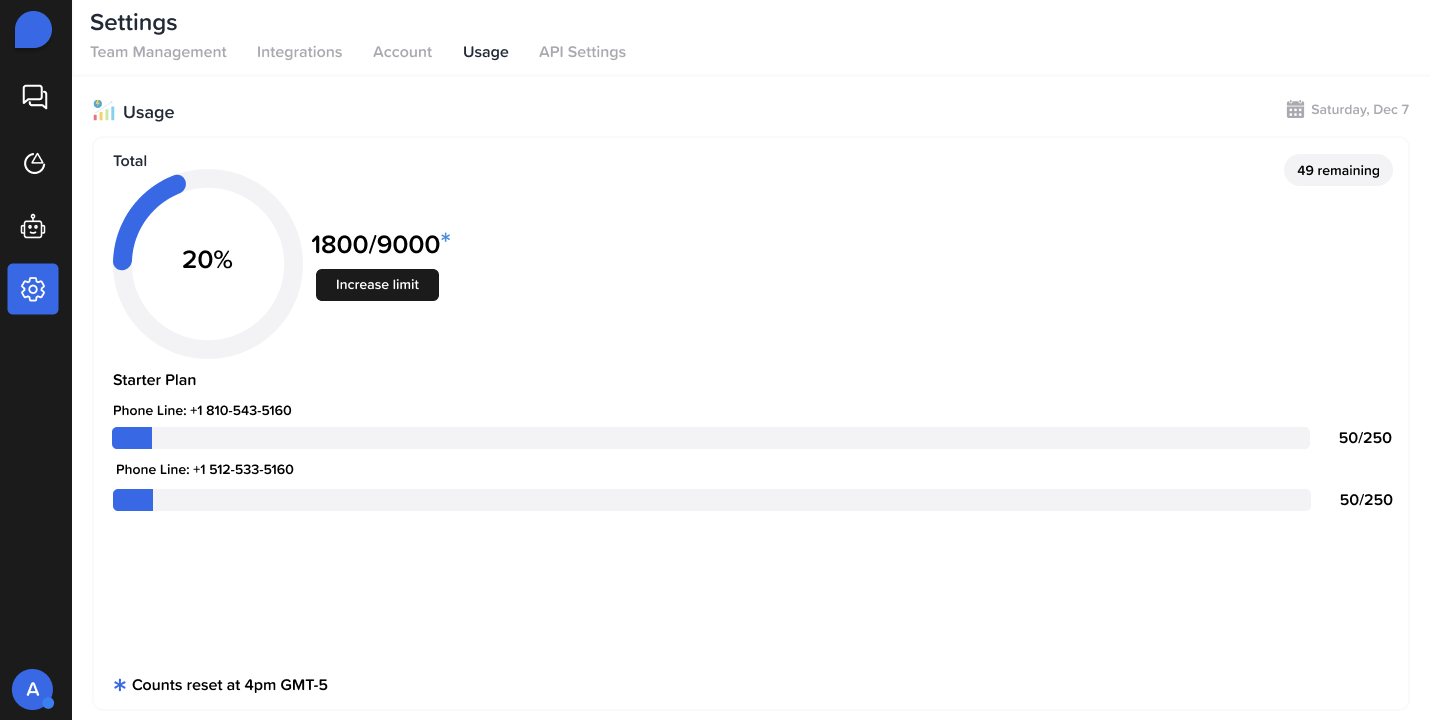
📊 Track Usage Limits
- Daily Message Limits
- View usage in the top-right banner of your dashboard
- Monthly Contact Quota
- Navigate to Billing or Usage Analytics for a full breakdown
- Make sure to include:
- 📞 Phone number
- 🙍♂️ Contact name
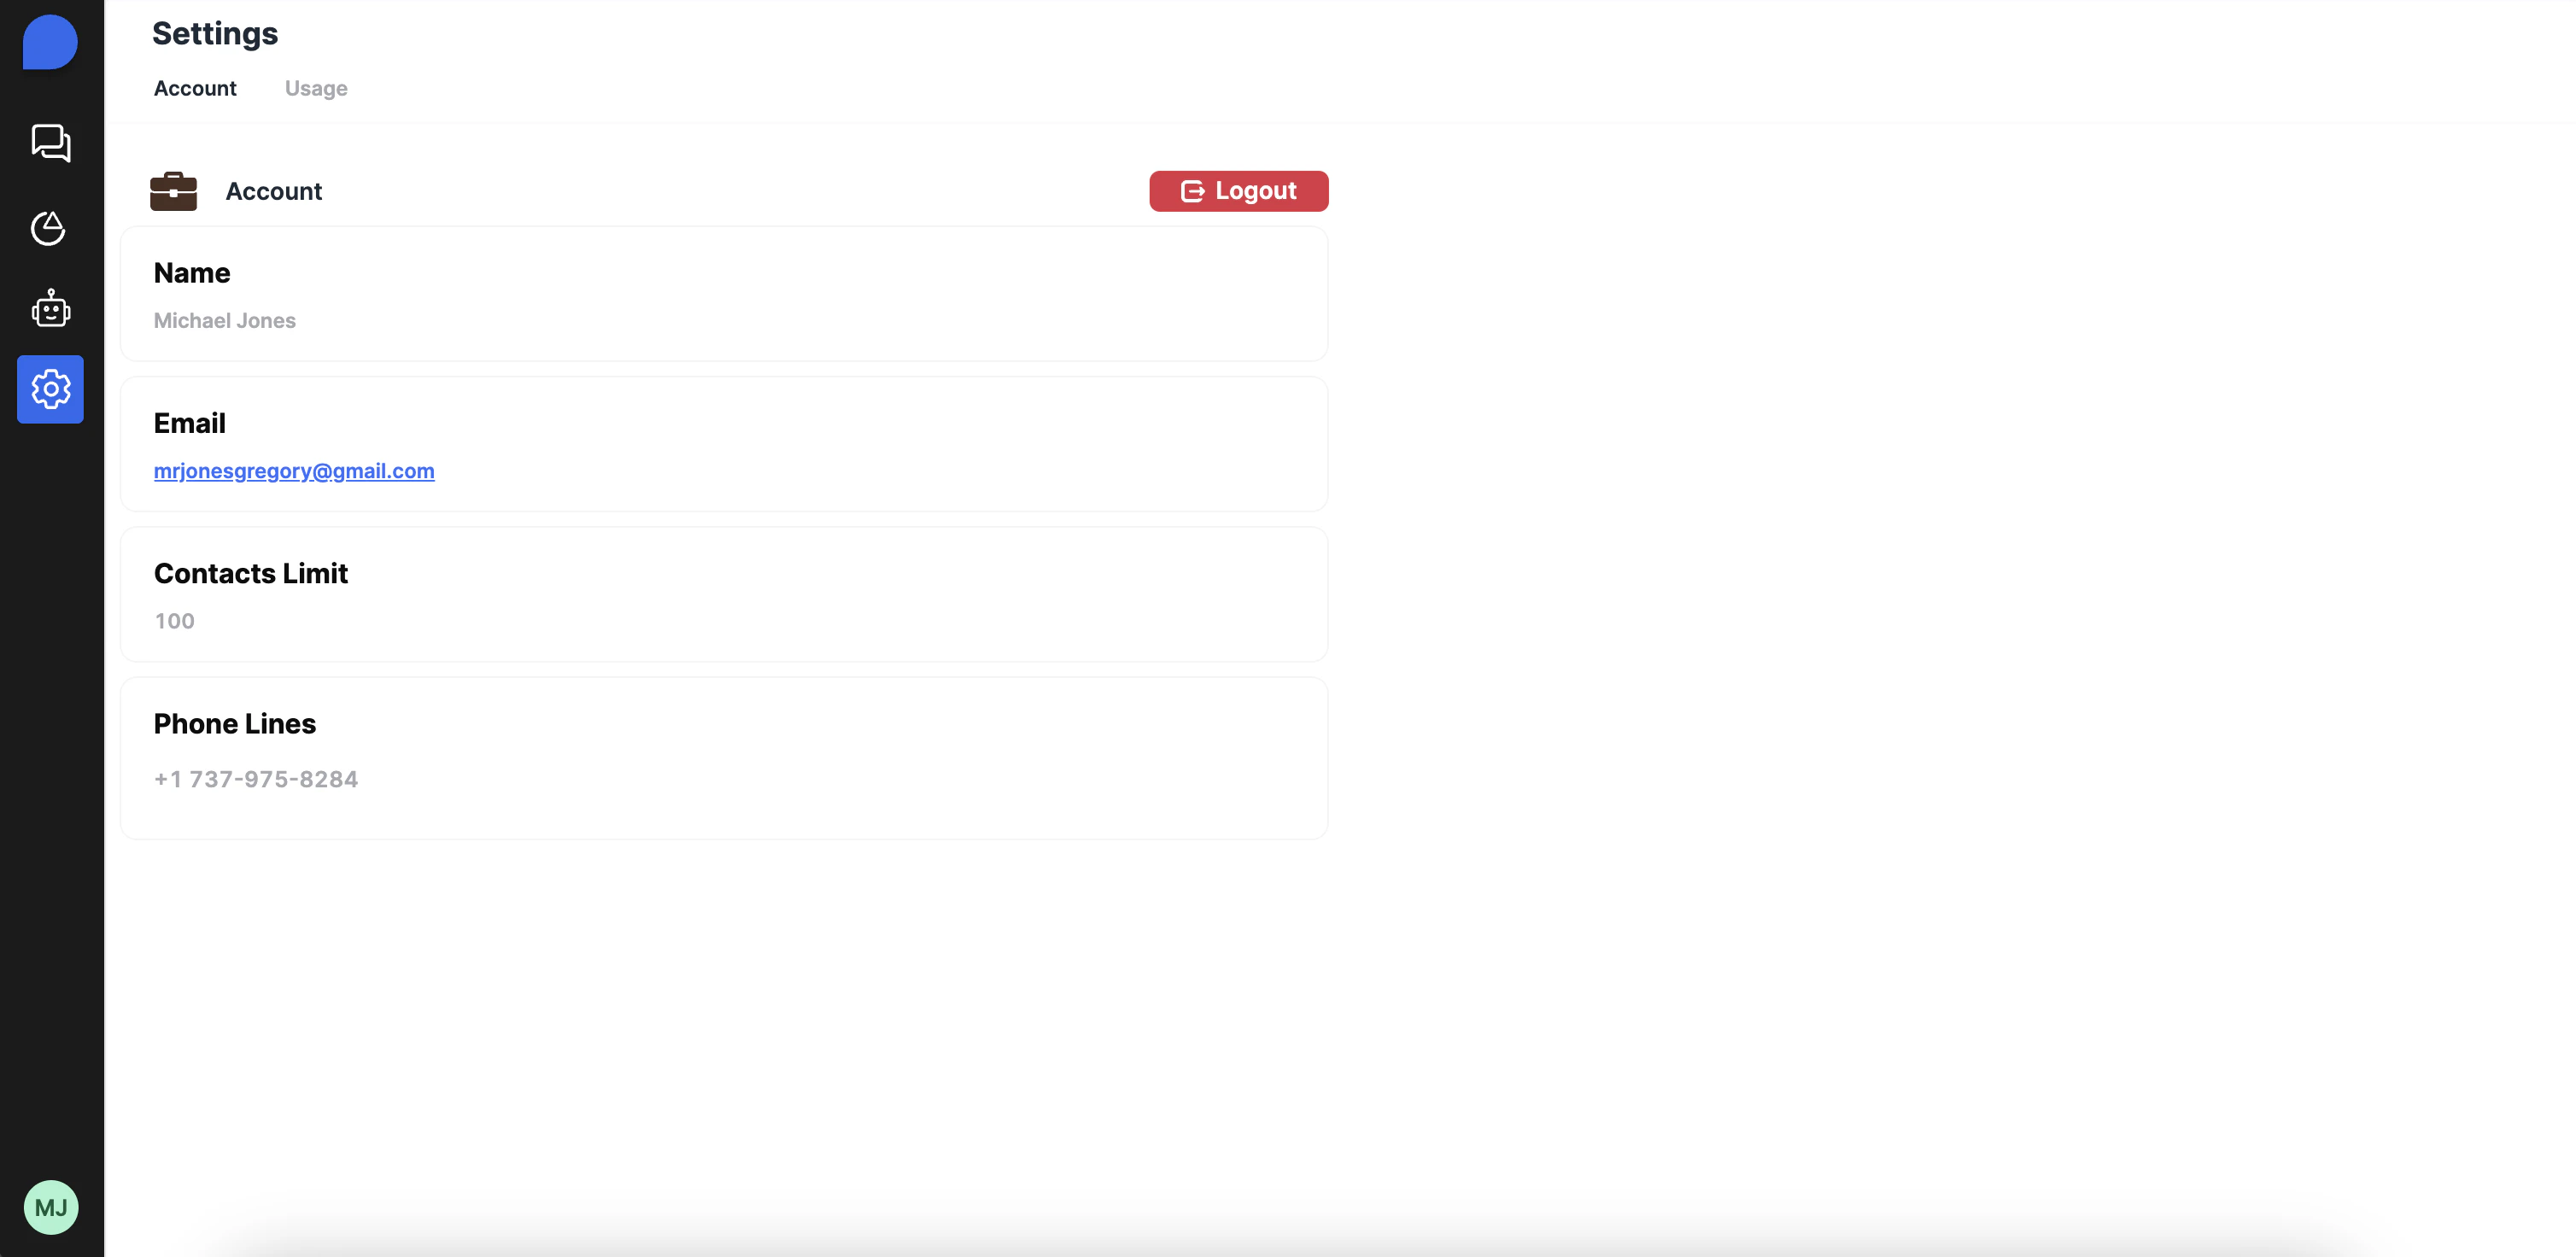
📲 Check Your Phone Line
- Go to Settings → Phone Lines
- See which phone number is currently assigned to your account
- Contact us if you need to add or change your line